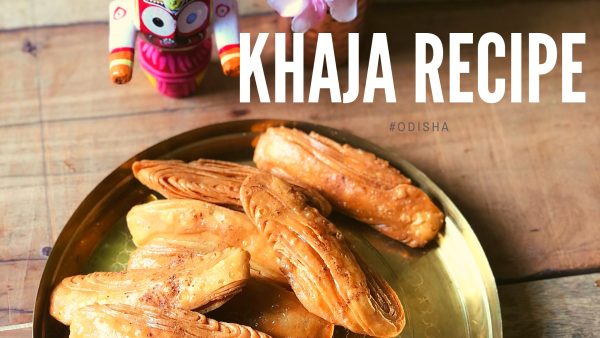
Kahaja is a crispy sweet Dessert from Odisha.A layered fritter dunked in sugar syrup . It is part of Chappan Bhoga that offered in Puri Jagannath Temple.
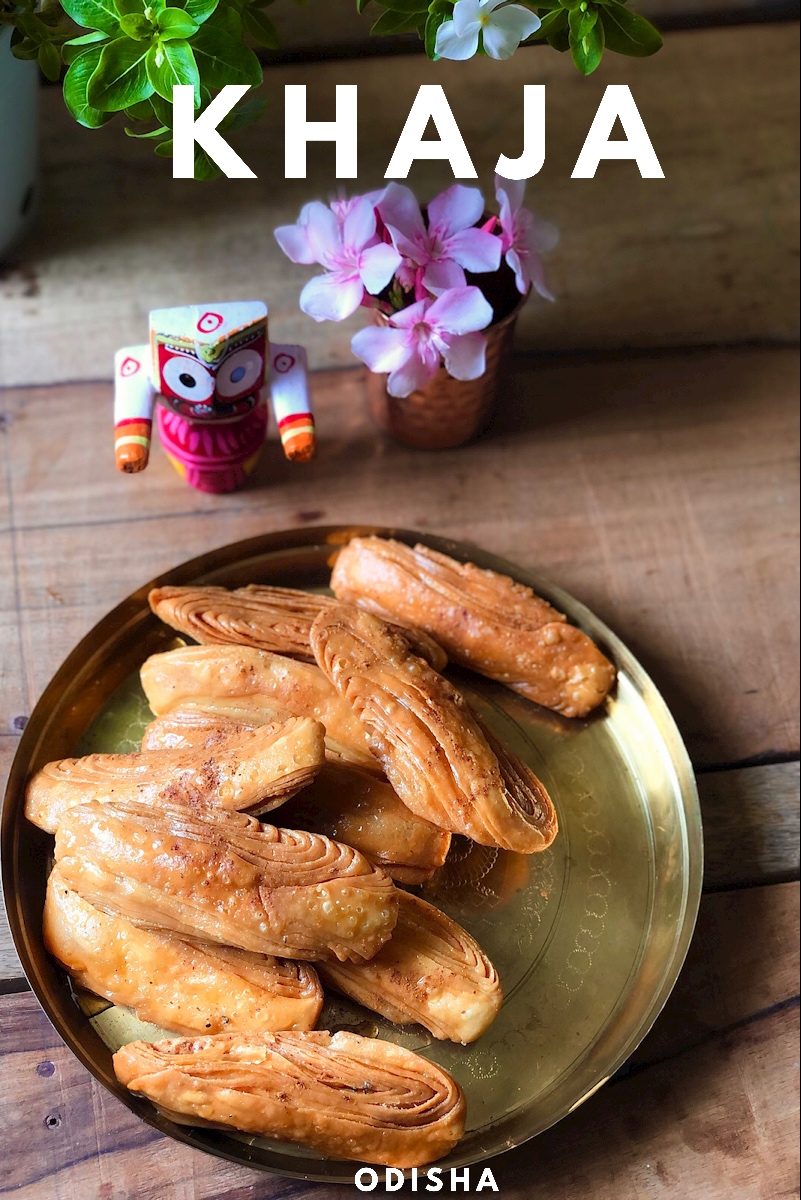
Do you know everyday “Chappan Bhoga”(56 type food) is offered to Lord Jagannath during worship.
There are “sukhila Mahaprasad” or Dry Bhoga like arisa,puli,kakara etc. Khaja is also part of the list.
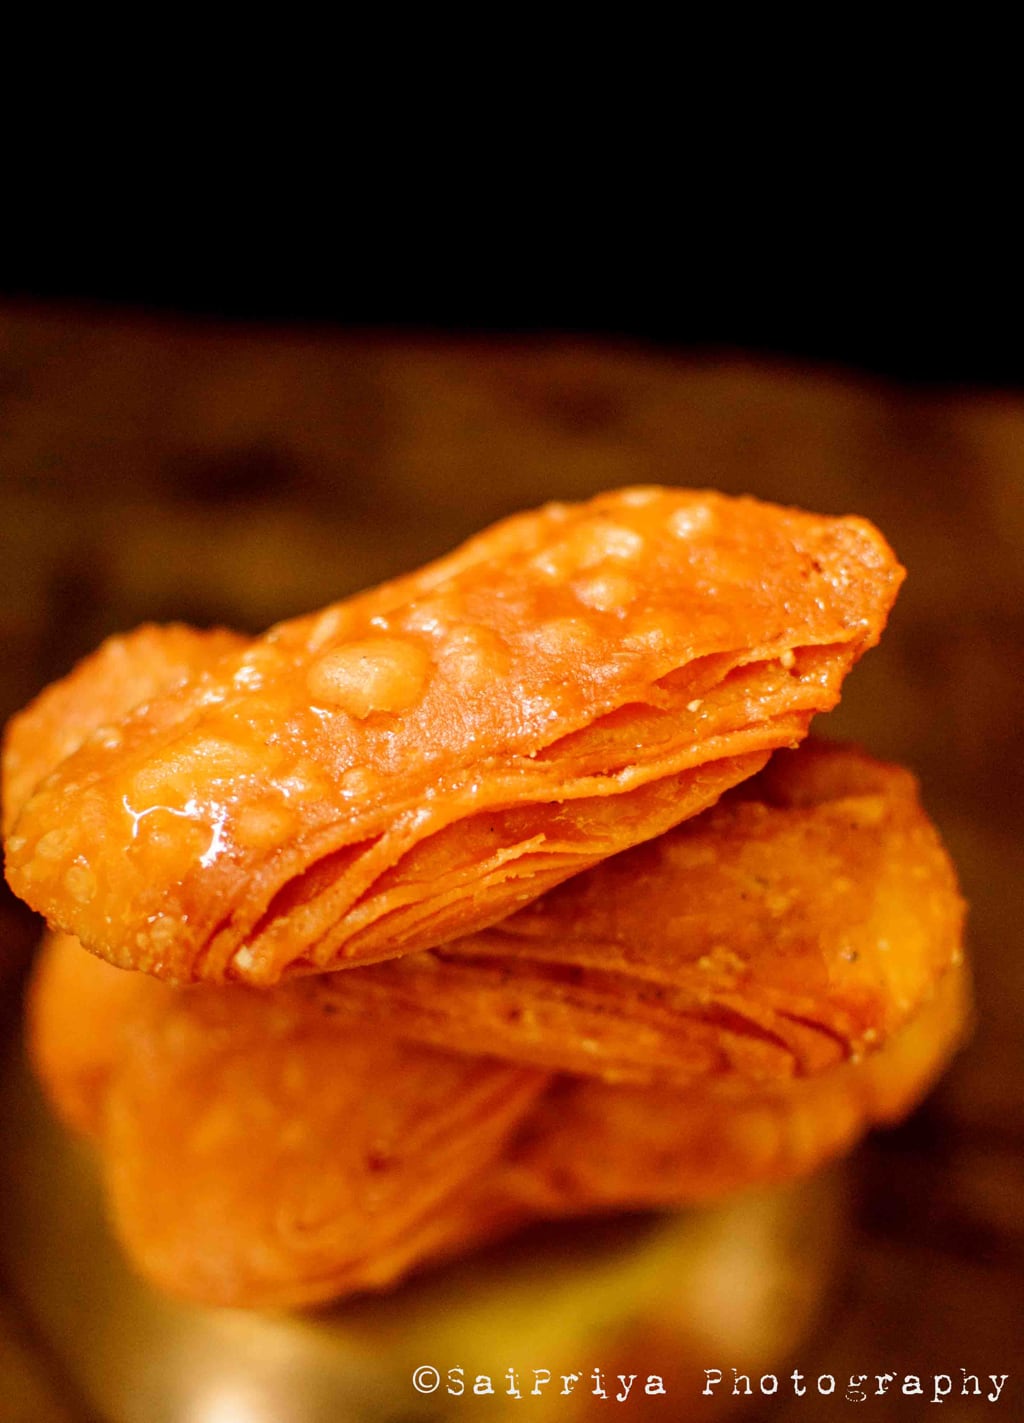
Crispy Khaja Recipe
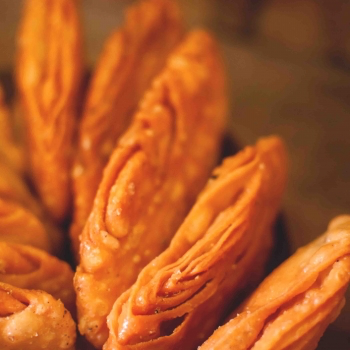
The recipe needs patience a little hard work. I have used all purpose flour ( Maida) here . You can replace 50% of the flour with whole wheat flour if you like.
The sugar syrup consistency has to be thick. Check for two thread consistency. Take one drop in a bowl and cool it .
Two threads are formed in between your thumb and forefinger when the syrup is pulled apart gently.
In temples of Odisha , they use clarified butter aka Ghee to fry Khaja. You can use Ghee or Vegetable oil for frying. Do not use Sesame Oil , Mustard oil or Olive Oil.
You may like to check Chenna Poda Recipe , the Best Indian Cheesecake
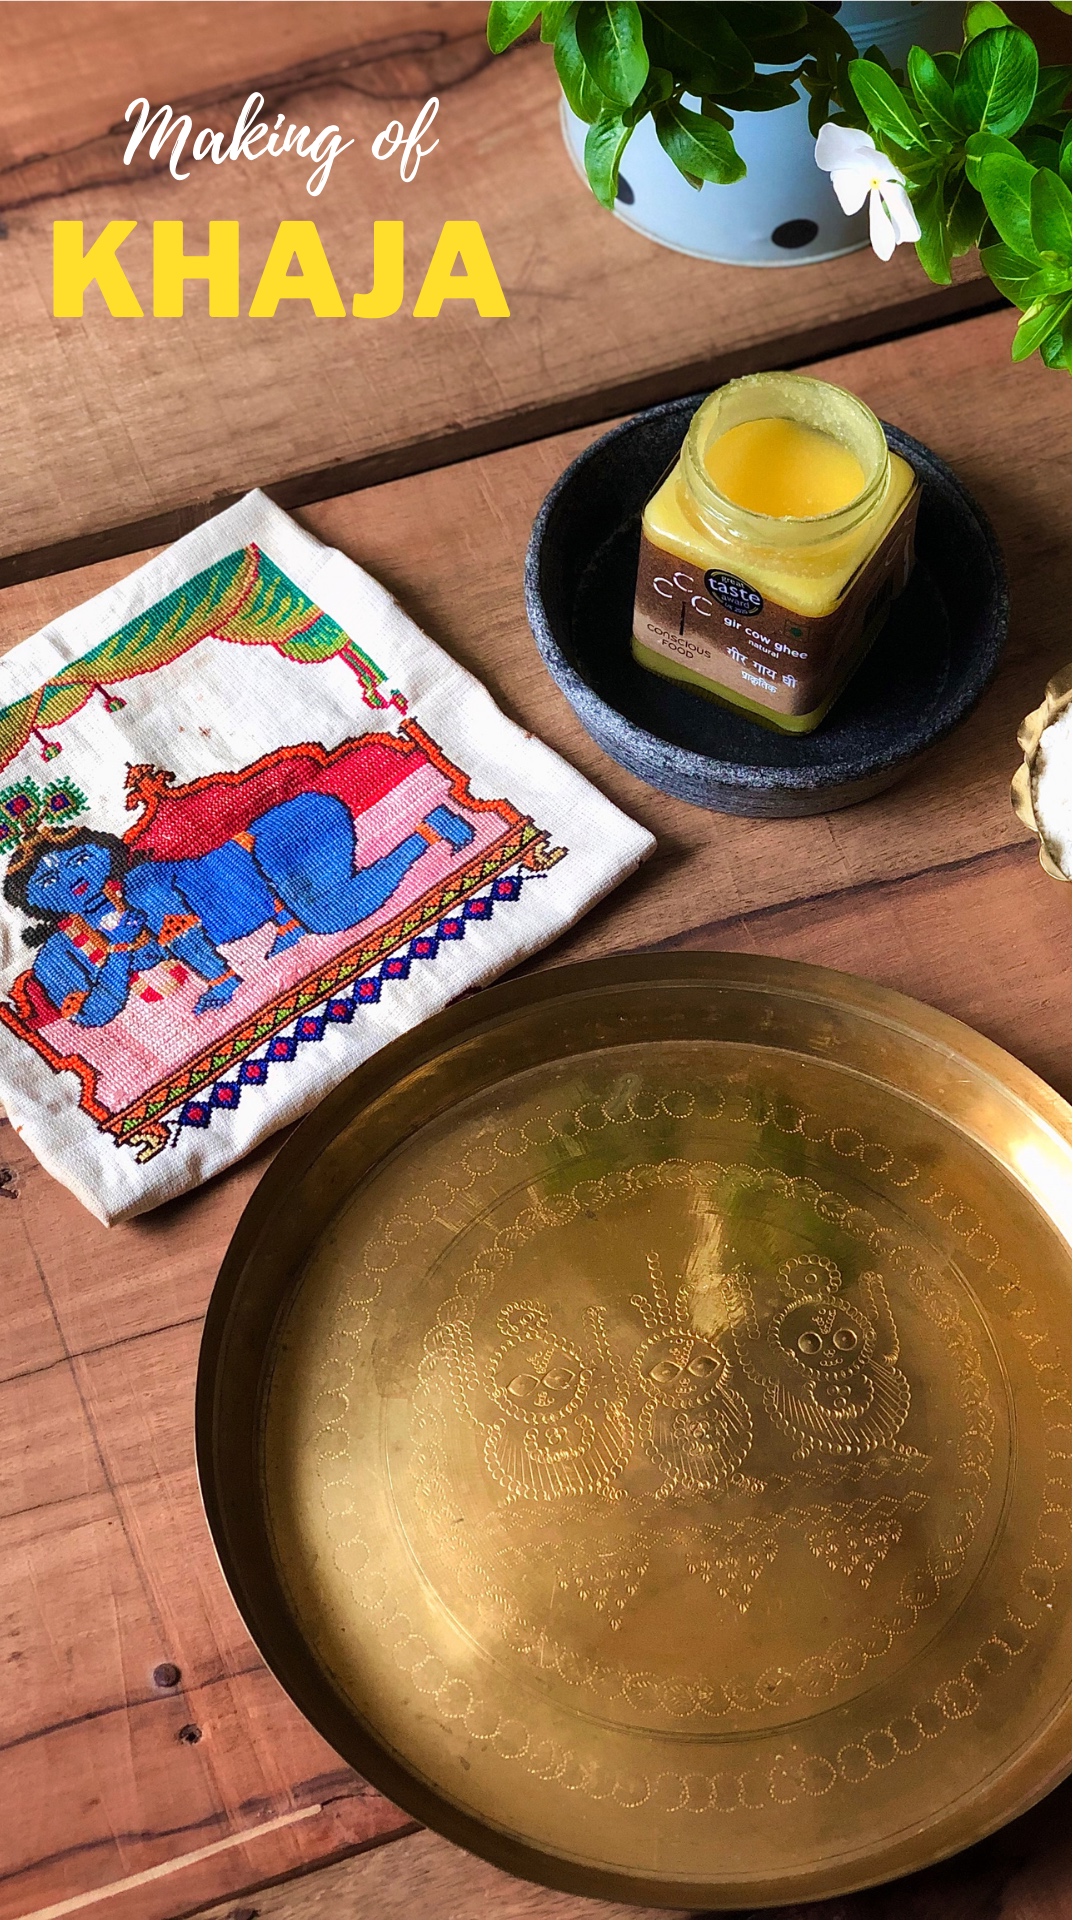
My Childhood Memory of Odia style Khaja
A special thanks to Mom who made these super delicious crunchy bites for me as i am down with fever .. Dedicating this post to my Super MOM
| Prep Time | 30 minutes |
| Cook Time | 30 minutes |
| Servings |
piece
|
- 2 cups all purpose flour
- 2 tbsps butter clarified ,melted
- 4 tbsps butter clarified
- 2 tbsp rice flour
- 1 cup sugar
- 1 tsp cinnamon powdered
- 5 green cardamom
- sunflower oil
- water
Ingredients
|

|
- In a bowl, add the flour ,melted ghee and mix well. You will get a crumb like texture.Add water little by little to make a smooth yet firm dough. Cover the dough and keep aside for at least 15 to 20 minutes.
- Make a paste mixing 4 tbsp clarified butter (ghee) and 2 tbsp rice flour.
- Divide the dough into 5 equal part.Take one ball and roll into circular shape sheet.Roll another one like this.
- Smear flour paste on one sheet and place another on top of it.Spread flour paste on top of the second sheet.Again spread the flour paste and place 3rd sheet on top of it. Repeat the process until you use all five sheets. Roll tightly all the sheets together into a log.
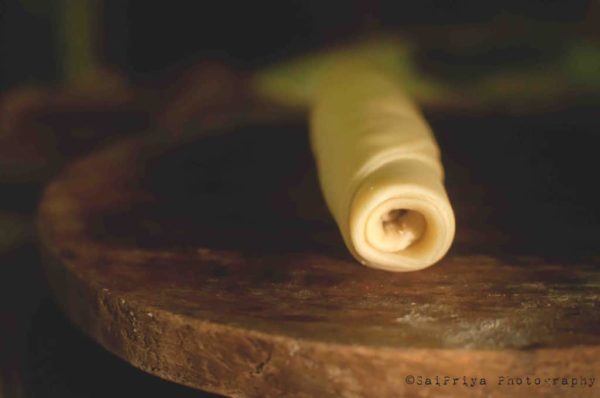
- Cut the log into 1 inch equal pieces. Roll each piece vertically .
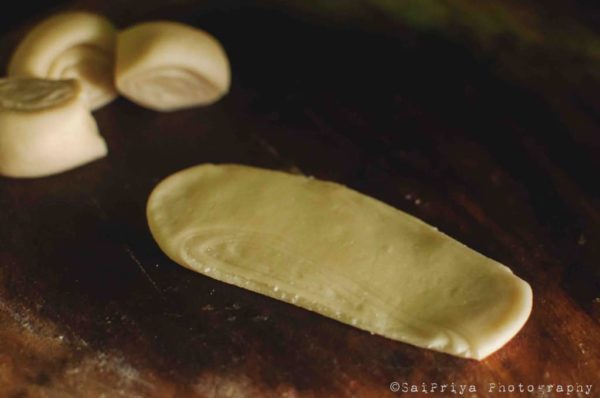
- Heat oil , fry them at medium flame until they are light brown on both side.Cool them completely.
- In the mean time prepare sugar syrup adding 1 cup sugar ,1 cup water into a pan.Boil till it is sticky .Add cardamom powder to it.
- Add crushed Green Cardamom to it. Cook at medium flame until you get one string consistency .
- When the syrup is slightly warm, dip those fried khaja in it. It should be coated from both sides, take them out over greased plate. Let it cool at room temperature and serve.
- These can be stored in an air-tight container up to 2 week at room temperature.

I am surprised that this is called Khaja in your side as well… we also call it the same… thank you for sharing the recipe…
This is so beautifully made. When I had first seen the pic, i was struck by the perfection it was executed. Now i know its the magic of ur mom’s fingers. Thanks for sharing the recipe and special thanks to ur mom .
Thank you sweety for making an effort to read the post.Yes it’s magic of my Mom. 🙂
??